When you need it
A rough-in is the plumbing that goes in before walls and floors close up: waste lines buried in concrete, vents framed into walls, and water lines to each fixture location. Some newer Brampton homes were built with a basement rough-in already capped in the floor slab. Plenty of older ones were not, and need the concrete opened to reach the main drain.
- Finishing a basement and adding a three-piece bathroom
- Creating a legal second unit with its own washroom
- Moving an existing rough-in to a better location
- Adding a laundry or wet bar next to a new bathroom
How we do the job
Good layout comes first. We locate the main building drain and measure its depth, because gravity drainage needs a consistent slope, generally about 2 percent, from each fixture to the drain. If the fixtures sit too low or too far away, a pumped system, such as an ejector pit or macerating toilet, takes over.
- Mark fixture locations with you and confirm dimensions for the chosen toilet, vanity and shower
- Saw-cut and break out the slab along the planned trench
- Tie in to the main drain with proper fittings
- Lay drain lines on compacted bedding at the correct slope
- Install traps and carry vents up to the main stack or a fresh vent
- Run hot and cold supply lines with shut-offs
- Test the drains for leaks before the inspection and before concrete is poured back
What affects the work
The distance from the main drain, the slab thickness and any obstacles such as a floor drain or support posts all shape the layout. Shower placement often decides the trench route. Venting is the step most often done wrong in DIY basements; without it, traps siphon and sewer gas reaches the room. Soil conditions under the slab vary too, and wet or soft bedding has to be dug out and replaced so the new pipe does not sag over time.
Planning the finished room
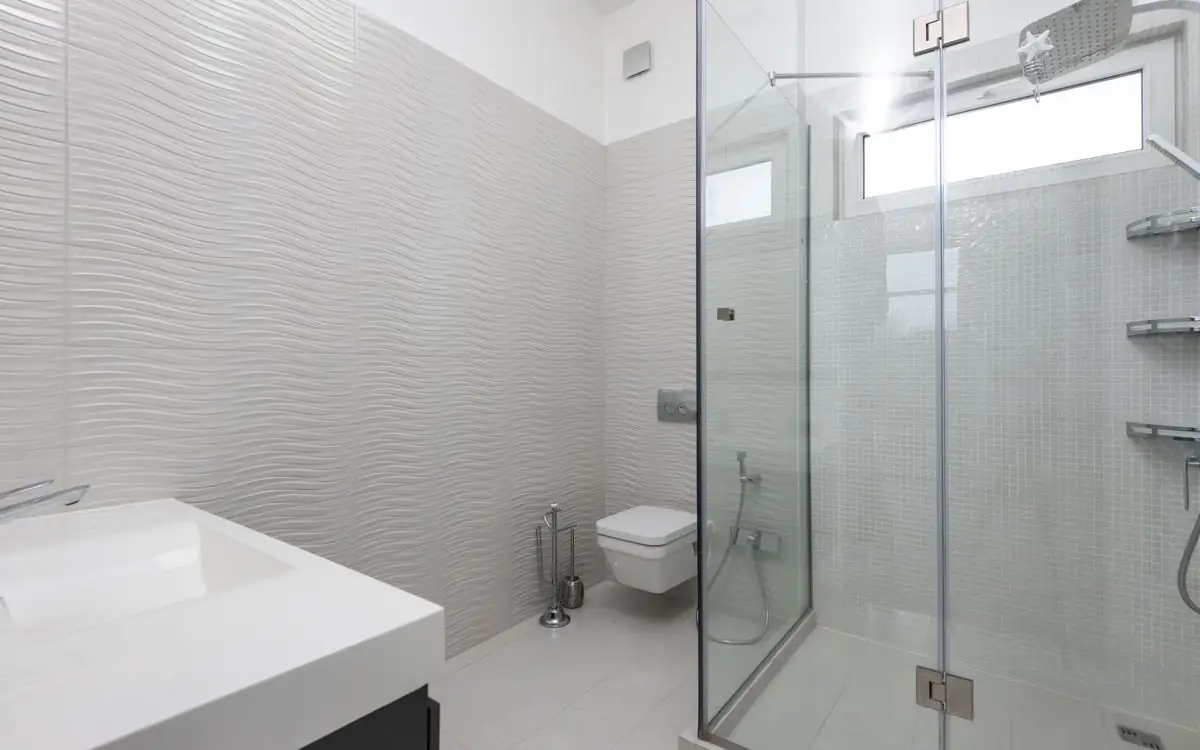
Choose fixtures before the rough-in, not after. A wall-hung toilet, a curbless shower or a wide double vanity each change pipe locations. Ten minutes of decisions now saves breaking concrete twice. Adding a backwater valve while the floor is open is also wise, since basement fixtures are the first to flood if the sewer backs up.
Brampton specifics
Brampton has a large number of registered second units, and a bathroom is part of nearly every one. Fire separation, ceiling height and egress are building matters; we focus on the plumbing and coordinate with your contractor. For the full picture, read about basement apartment plumbing and see bathroom renovation plumbing for above-grade projects.
Asked at the shop counter
My house already has a rough-in. Can I use it?
Often, yes. We test the capped lines and check venting before you build around them, since unused rough-ins are sometimes incomplete.
Will my basement bathroom need a pump?
Only when the new fixtures end up lower than the main drain or too far to achieve proper slope. Most Brampton basements can drain by gravity.
How long does the floor stay open?
Typically a few days, depending on inspection scheduling before the concrete goes back.
Questions about this job? Call (365) 413-9125 and talk to a plumber.